Wednesday, June 27, 2012

Monet a Photo - Playing with Nik Color Efex Pro 4


I took this beautiful photo of the hanging Spanish moss while I was in Florida. It's lovely and it sure looked like it would be fun to play with. I've been watching a lot of CreativeLive.com classes (which are free while they are live and an amazing source of photography information with incredible instructors). While watching they demoed some Nik Color Efex Pro 4 filters. I got to download a couple of these for free. The catch was that when I did that, it loaded Nik Color Efex Pro 4 to my computer for a limited time. The problem is not that they loaded, it's that now that I've played with them, I will want to own them. So let me show you what I've done.

I took this beautiful photo of the hanging Spanish moss while I was in Florida. It's lovely and it sure looked like it would be fun to play with.

Awhile back I had done some portrait photos for a friend of my daughters. I selected one of the photos and used the mask tool to remove her from the background. Then I was able to bring her in to the Spanish moss photo. But before I brought her in, I did a little manipulation with the Nik Color Efex Pro.


First I duplicated the Spanish moss photo. That later was mirrored and moved over. I wanted to see more of the branch to the left and I needed to fill the space to the right.
I used 2 of the Nik Color Efex Pro filters - Photo Stylizer and Sunlight.


Next I brought the masked version of my model into the working file. Then one more Nik Color Efex Pro filter...Classical Soft Focus...over the whole image. I reduce the transparency a little and a little sharpening to her face only and ooolaaalaa.

I am really enjoying this compositing stuff and the Nik Color Efex Pro 4. I'm in trouble now, ha, ha...


Lesson - Try out some add on software like Nik Color Efex Pro 4.

- 1 Photo a Day....makes me happy (and a better photographer) Bonnie McCaffery (always a student)
Here's links to the equipment I used.

Wednesday, June 20, 2012

Backgrounds & Photoshop Fun

I am learning so much lately... I especially love what I've been learning about Photoshop. I have CS5.5. The masking tool in this version of Photoshop is amazing. Rather than me trying to explain it, here is a link to a video that explains it quite well.
http://www.youtube.com/watch?v=iUUFIdAsj2o

So here's what I've done. I have a lovely picture of Abby on a plain blue wall and a macro photo of a rock I took at the Smithsonia Museum of Natural History.

Duplicate the Abby photo layer (Ctrl J). I brought the rock photo layer into the Abby photo and placed it below the Abby duplicate layer. Then I masked out the background of the Abby photo which revealed the rock photo below.

I did do several other adjustments to the Abby photo including removing a few blemishes, whiting the whites of her eyes, and altering the color of her irises to go with the color of the rock.
I played with this a little more with a great photo I had of Levi and a macro photo of Citrine. This time I changed the color of the rock photo (using a Hue/Saturation layer over the rock photo) to go with Levi's eyes.

Wednesday, June 13, 2012

Close, Closer, Closer...

Sometimes I just like to buy myself a bouquet of flowers - it's for homework, right?


I put on my favorite lens (my Canon 100mm f2.8L Is Macro) and my tripod which is critical if your going to take sharp closeup photos. I started with an average shot - it's pretty with the different colors of flowers. But then I went in a little closer....nice.
Then I popped a 250D Closeup Lens on my Macro lens...which meant I could get even closer. It's kinda like a magnifying glass for the camera lens.
And I just kept going...closer...and closer.
I shifted my lens ever so slightly to eliminate the center of the flower. Which do you think is the better shot?
Lesson - Buy yourself a homework assignment of flowers and play with some closeup shots.

- 1 Photo a Day....makes me happy (and a better photographer) Bonnie McCaffery (always a student)
Here's links to the equipment I used.


Thursday, June 7, 2012

Lily of the Valley and the Butterfly

One of my favorite smells is Lily of the Valley, so I just love this time of year when it announces the beginning of Spring.
The tiny flowers remind me of music notes - joyfully singing the fragrance of Spring.


We found a butterfly - unfortunately he had metamorphised into the next realm (he was dead). But I decided he could still pose quite nicely in the Lily of the Valley. And the beauty of that is that I could focus and he would not fly away. I did still have to be aware of the slight movement of from the gentle breeze.

After picking a few Lily of the Valley and putting them in the sweetest little pitcher I have, I noticed the rainbow reflections on them from my stained glass door. It was just perfect. Luckily I grabbed my camera and took the photos because within minutes the rainbow was gone.

Lesson 1 - take advantage of whatever you find to take photos - even dead butterflies.
Lesson 2 - When you see a photo, grab your camera and get the shot. It might not be there very long. That's why my camera is always out and waiting to be used.

- 1 Photo a Day....makes me happy (and a better photographer) Bonnie McCaffery (always a student)

Tuesday, May 29, 2012

Zoom - A day at Animal Kingdom

I love when my travels allow for a day of fun. I had an extra day while I was in Florida so I decided to have some fun with my camera at Disney's Animal Kingdom. And what a great day it was.


1/400 s at f/18.0 - 200mm
I am a great believer is choosing one lens and using that for the day. So for this day I chose my Canon 70-200mm f4.0L IS USM. I knew I wouldn't be able to get really close to the animals and I really like closeup photos. This lens allowed me to SAFELY capture the expression on the animals faces.
1/400 s at f/6.3 - 200mm
 Two things that are important to me with this lens are the ability to zoom to 200mm but more importantly is the "IS". This stands for Image Stabilization. That means that if I move a little bit - and who wouldn't if they were holding a heavy lens without a tripod - the camera has a mechanism to help stabilize the camera to get a clearer shot. It can only do so much, so it is still important to try and stay as still as possible.
 Another tip with a zoom lens is that the shutter speed should be at least 1 over the mm zoom. So if you are at 70mm, the shutter speed should be at least 1/80. And at 200mm should be at least 1/200. You would need to be in "Shutter Priority" mode or "Manual" mode to control this.
 Here was my luckiest shot of the day. This sweet little baby duckling was sitting on the rock - and the sun was a PERFECT spotlight. The 70-200 really helped me get a closeup photo - you can see the details in his down feathers.


1/320 s at f/14.0 - 200mm
 One more lucky shot I got was of a bird in flight. I was just clicking away (oh the beauty of digital because you can toss the ones that don't turn out). I was able to capture the spread of its wings. I just wish I had used a faster shutter speed - but I didn't understand that yet. We'll get into that later.
 
1/400 s at f/11.0 - 200mm
Lesson - Pick a lens and a fun place. Take your camera for a walk and see what you can capture. If you have a zoom, play with that.
- 1 Photo a Day....makes me happy (and a better photographer) Bonnie McCaffery (always a student)

Wednesday, May 16, 2012

Allow for Cropping to 8x10

I had the opportunity to do my very first Portrait Photography session - you see, I want to be a professional photographer. My friends daughter was going to have her First Communion, so I volunteered to do some photos for her.

The first challenge was choosing a background. With the dress being white, I couldn't use a white background so I choose black to really make it pop.
Gabriella was excellent. She was not only beautiful but had a talent for hitting a pose and connecting with the camera. After the shoot, I loaded the photos to the computer. The photos were beautiful and  I wanted to be sure her mom could just print the photos.
Uncropped (I specifically framed it off-center)
That's when I realized that these photos (taken on my cropped frame Canon T2i) will not print out to be 8x10 without losing some of the photo. Notice the same photo cropped to fit an 8x10 frame.
 
Cropped to 8" x 10"

If you intend to print 8 x 10 that will fit into standard photo frame, it might be a good idea to allow a little extra room for cropping so no detail is lost.

We also experimented with some shots at the kitchen window. The background was gorgeous with lots of beautiful bokeh (using a shallow depth of field of f/2.8). It is amazing how the different background gives a totally different feeling to the photo. The cross in the window was quite by accident...looks good.

Lesson 1 -  Shoot a little wide so there is room to crop if it will be printed to 8x10.
Lesson 2 - Try out different backgrounds.

See an album of the photos taken...
http://bonniemccaffery.com/Gabriella/

 - 1 Photo a Day....makes me happy (and a better photographer) Bonnie McCaffery (always a student) 

Monday, May 7, 2012

Looking for the Light...Finding Beauty in the Dark

In Washington, DC, Jeanie Sumrall-Ajero and I wanted to take our cameras for a walk to the Cathedral...but it was getting late.
If we didn't hurry we were going to miss our opportunity to take photos. We hustled along and got there in time to take some photos of the suns light kissing the Cathedral before it left for the night.


The sun was disappearing and I thought our photo ops were about to end. But while taking just one more photo of the sun setting between the buildings, it happened...I looked at one of the photos on the back of the camera and saw the beautiful glow of the street lights.


So I decided to play with that for awhile. I positioned myself just right to get a nice angled perspective line of the street lights and then I waited for the stop light to turn red...Click...


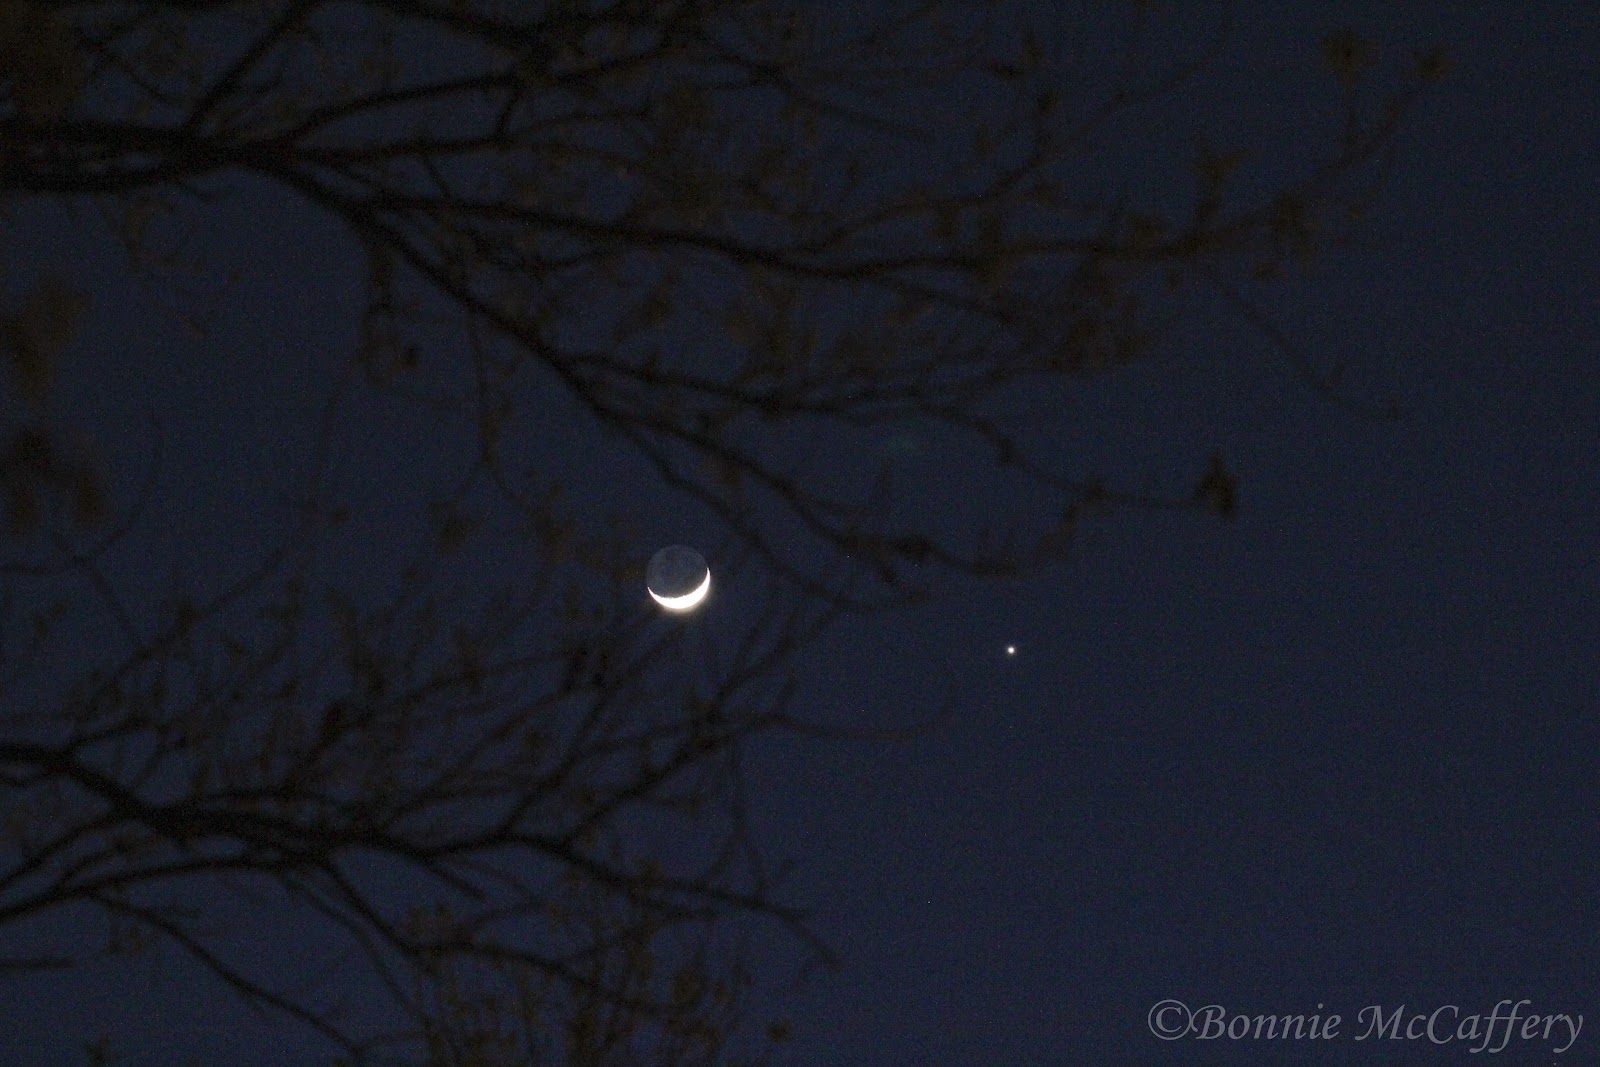
Just as we were about to head back, there up in the sky was the Moon and Venus. I snapped it, but I'm sure it would have been a really good idea to use a tripod (which I didn't bring).


 Lesson 1 - you just never know what opportunities you'll find...even if it's getting dark.

 Lesson 2 - next time bring the tripod.

ASSIGNMENT - Take your camera out in the evening (with your tripod) and experiment with some longer exposures to capture the evening light.

 - 1 Photo a Day....makes me happy (and a better photographer) Bonnie McCaffery (always a student)