Thursday, June 7, 2012

Lily of the Valley and the Butterfly

One of my favorite smells is Lily of the Valley, so I just love this time of year when it announces the beginning of Spring.
The tiny flowers remind me of music notes - joyfully singing the fragrance of Spring.


We found a butterfly - unfortunately he had metamorphised into the next realm (he was dead). But I decided he could still pose quite nicely in the Lily of the Valley. And the beauty of that is that I could focus and he would not fly away. I did still have to be aware of the slight movement of from the gentle breeze.

After picking a few Lily of the Valley and putting them in the sweetest little pitcher I have, I noticed the rainbow reflections on them from my stained glass door. It was just perfect. Luckily I grabbed my camera and took the photos because within minutes the rainbow was gone.

Lesson 1 - take advantage of whatever you find to take photos - even dead butterflies.
Lesson 2 - When you see a photo, grab your camera and get the shot. It might not be there very long. That's why my camera is always out and waiting to be used.

- 1 Photo a Day....makes me happy (and a better photographer) Bonnie McCaffery (always a student)

Tuesday, May 29, 2012

Zoom - A day at Animal Kingdom

I love when my travels allow for a day of fun. I had an extra day while I was in Florida so I decided to have some fun with my camera at Disney's Animal Kingdom. And what a great day it was.


1/400 s at f/18.0 - 200mm
I am a great believer is choosing one lens and using that for the day. So for this day I chose my Canon 70-200mm f4.0L IS USM. I knew I wouldn't be able to get really close to the animals and I really like closeup photos. This lens allowed me to SAFELY capture the expression on the animals faces.
1/400 s at f/6.3 - 200mm
 Two things that are important to me with this lens are the ability to zoom to 200mm but more importantly is the "IS". This stands for Image Stabilization. That means that if I move a little bit - and who wouldn't if they were holding a heavy lens without a tripod - the camera has a mechanism to help stabilize the camera to get a clearer shot. It can only do so much, so it is still important to try and stay as still as possible.
 Another tip with a zoom lens is that the shutter speed should be at least 1 over the mm zoom. So if you are at 70mm, the shutter speed should be at least 1/80. And at 200mm should be at least 1/200. You would need to be in "Shutter Priority" mode or "Manual" mode to control this.
 Here was my luckiest shot of the day. This sweet little baby duckling was sitting on the rock - and the sun was a PERFECT spotlight. The 70-200 really helped me get a closeup photo - you can see the details in his down feathers.


1/320 s at f/14.0 - 200mm
 One more lucky shot I got was of a bird in flight. I was just clicking away (oh the beauty of digital because you can toss the ones that don't turn out). I was able to capture the spread of its wings. I just wish I had used a faster shutter speed - but I didn't understand that yet. We'll get into that later.
 
1/400 s at f/11.0 - 200mm
Lesson - Pick a lens and a fun place. Take your camera for a walk and see what you can capture. If you have a zoom, play with that.
- 1 Photo a Day....makes me happy (and a better photographer) Bonnie McCaffery (always a student)

Wednesday, May 16, 2012

Allow for Cropping to 8x10

I had the opportunity to do my very first Portrait Photography session - you see, I want to be a professional photographer. My friends daughter was going to have her First Communion, so I volunteered to do some photos for her.

The first challenge was choosing a background. With the dress being white, I couldn't use a white background so I choose black to really make it pop.

Gabriella was excellent. She was not only beautiful but had a talent for hitting a pose and connecting with the camera. After the shoot, I loaded the photos to the computer. The photos were beautiful and  I wanted to be sure her mom could just print the photos.
Uncropped (I specifically framed it off-center)
That's when I realized that these photos (taken on my cropped frame Canon T2i) will not print out to be 8x10 without losing some of the photo. Notice the same photo cropped to fit an 8x10 frame.
 
Cropped to 8" x 10"

If you intend to print 8 x 10 that will fit into standard photo frame, it might be a good idea to allow a little extra room for cropping so no detail is lost.

We also experimented with some shots at the kitchen window. The background was gorgeous with lots of beautiful bokeh (using a shallow depth of field of f/2.8). It is amazing how the different background gives a totally different feeling to the photo. The cross in the window was quite by accident...looks good.

Lesson 1 -  Shoot a little wide so there is room to crop if it will be printed to 8x10.
Lesson 2 - Try out different backgrounds.

See an album of the photos taken...
http://bonniemccaffery.com/Gabriella/

 - 1 Photo a Day....makes me happy (and a better photographer) Bonnie McCaffery (always a student) 

Monday, May 7, 2012

Looking for the Light...Finding Beauty in the Dark

In Washington, DC, Jeanie Sumrall-Ajero and I wanted to take our cameras for a walk to the Cathedral...but it was getting late.
If we didn't hurry we were going to miss our opportunity to take photos. We hustled along and got there in time to take some photos of the suns light kissing the Cathedral before it left for the night.


The sun was disappearing and I thought our photo ops were about to end. But while taking just one more photo of the sun setting between the buildings, it happened...I looked at one of the photos on the back of the camera and saw the beautiful glow of the street lights.


So I decided to play with that for awhile. I positioned myself just right to get a nice angled perspective line of the street lights and then I waited for the stop light to turn red...Click...


Just as we were about to head back, there up in the sky was the Moon and Venus. I snapped it, but I'm sure it would have been a really good idea to use a tripod (which I didn't bring).


 Lesson 1 - you just never know what opportunities you'll find...even if it's getting dark.

 Lesson 2 - next time bring the tripod.

ASSIGNMENT - Take your camera out in the evening (with your tripod) and experiment with some longer exposures to capture the evening light.

 - 1 Photo a Day....makes me happy (and a better photographer) Bonnie McCaffery (always a student)

Thursday, April 26, 2012

The Sun is not My Friend

It's a gorgeous day. The sun is shining and the sky is blue. Perfect to take some photos, right? Well kinda... Abby posed on the deck and I thought the sun half lighting her face would be a good thing. Actually it's a little harsh and I've lost the details in her face.
So I moved her into the shade...that's better.
But when she moved down off the porch I noticed the lighting pop on her face. She was facing her white house and it was acting as a perfect reflector.
 But if I angled her just right, I could get just a soft shading on her face with a soft highlight.
 Lesson - use the sun reflected rather than directly right on the subject.

ASSIGNMENT - Find someone to model for you and see if you can bounce some light off of something white (like a piece of posterboard) to get some soft reflected light on their face.

Feel free to post some photos to the Flickr group. Here's the info Flickr group - 1 Photo A Day ... With Bonnie McCaffery - http://www.flickr.com/groups/1photoadaywithbonnie/ You upload photos to your Flickr account and when you're in the 1photoaday Group page, that's where you select which of your Flickr photos to post to the group.

 - 1 Photo a Day....makes me happy (and a better photographer) Bonnie McCaffery (always a student)

Thursday, April 19, 2012

Selecting the Background

I love bokeh (that soft blurry background pronounced like "bouquet") that you get when you use a larger f-stop. But even with that beautiful softness in the background, I found I liked the photos better when I chose the coloring of the background. While this photo has a lovely blurring in the background, there was just too much going on in the background.
Looking at this photo, I wished I had moved just a little so the blurry branch wasn't behind the photo.
The bark of the tree looked like a good possibility...
 ...So I moved around and put the tree bark behind the flower instead of the greenery.
 I love the subtle blur of bright green in the corner of this one.
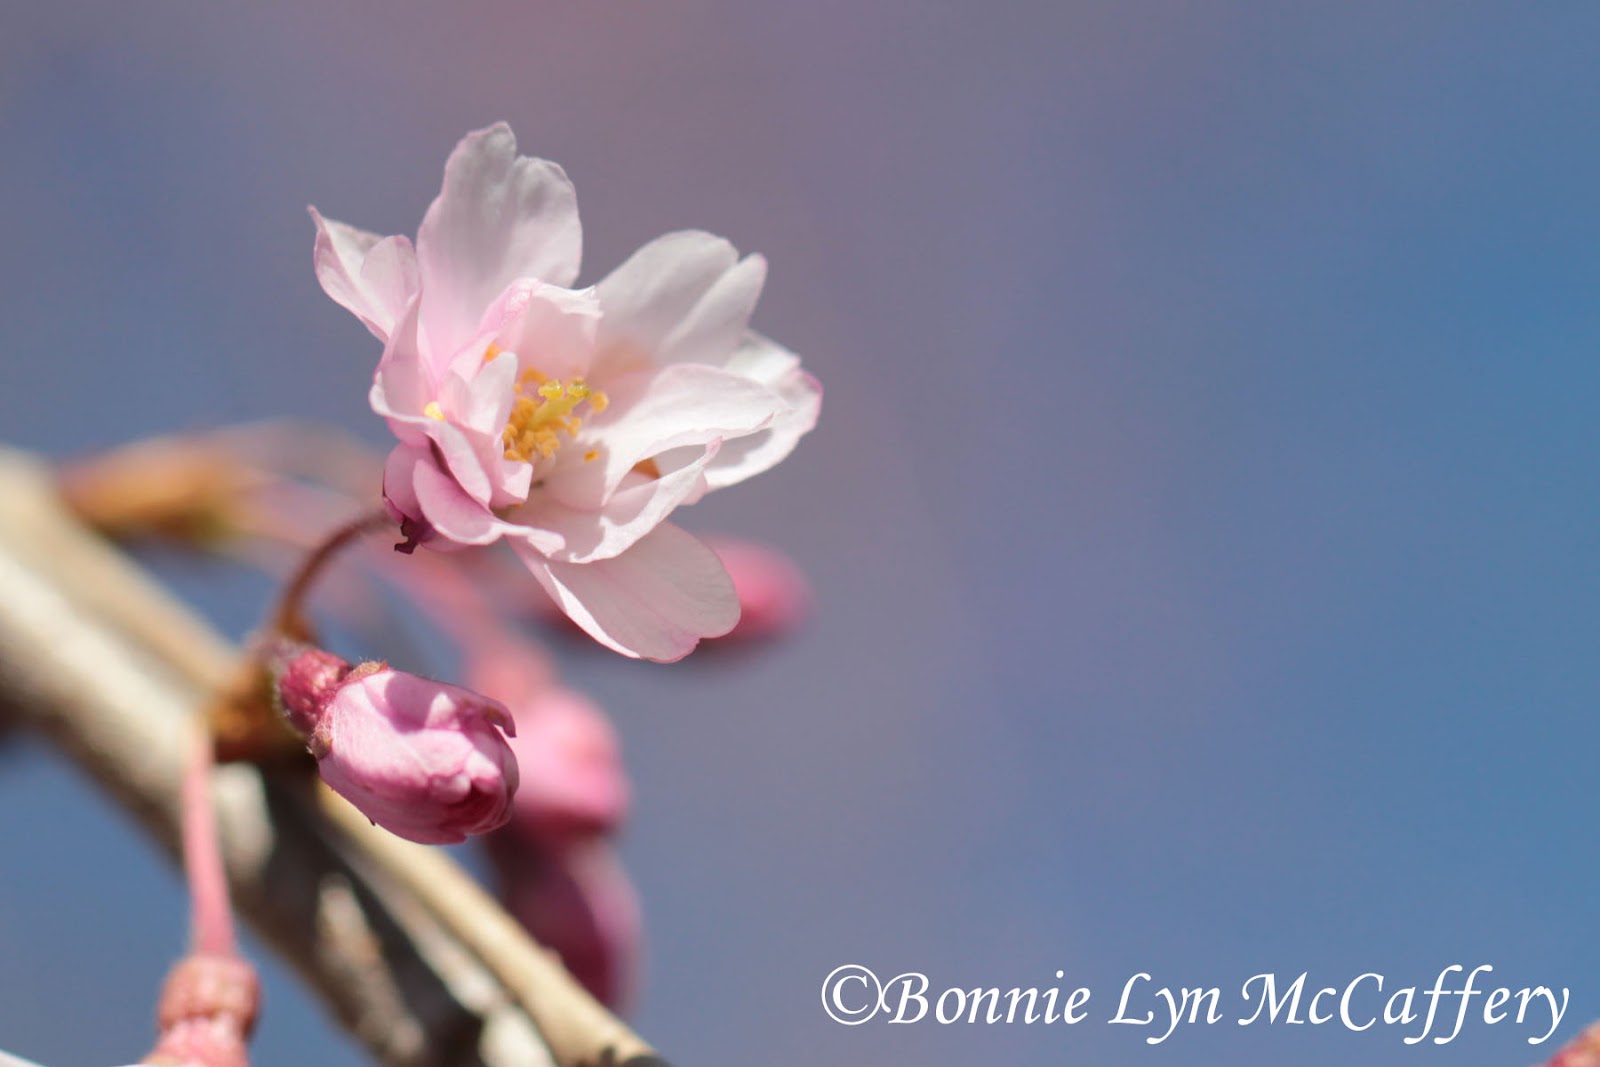
 Two of my favorites this morning were the beautiful blue sky blur behind the pink flowers.
And the gorgeous rich darkness (from the dark woods far in the background) contrasting against the whiteness of the flowers.
 Lessons Learned
1. Think about what is behind the subject as well as the subject itself.

ASSIGNMENT - Take some photos being fully aware of what is in the backgrounds.

 - 1 Photo a Day....makes me happy (and a better photographer) Bonnie McCaffery (always a student)

Saturday, April 14, 2012

Did you take 1 photo a day?

I should walk every day, but do you know what stops me from doing it? I'd have to change my shoes. Yup. I'm a lazy girl. So now I try to put my sneakers on when I get dressed.


To commit to taking 1 photo a day, you have to have your camera out and ready with the battery charged or a spare one nearby. While the commitment is 1 Photo a Day, once you pick up the camera you might be inclined to take a few more. And that's the goal...to take photos and learn as you go.


Several people have said they would like to go on this discovery journey with me. I will post an assignment each week. So sometime during the week think about this while you're taking your photos. These don't have to be the only photos you take, but at least think about the assignment once when you have the camera in hand (or not, the choice is yours, ha, ha). I'll set up a Flickr Group so we can share our photos. It will be a place to post your best photo of the week (1-3 photos a week). This way the group photos will be our best and we won't be flipping thru a bunch of "pretty goods". BTW "best" just means your best photo that week. None of us are pros, so they might not be perfect. But they should be worth sharing. ASSIGNMENT - this one will be an easy one (or maybe not). Take 1 Photo a Day. Pick your best shot for the week and post it to Flickr. Ok, there is a second part of the assignment...you're going to have to sign up for our Flickr group. Flickr group - 1 Photo A Day ... With Bonnie McCaffery - http://www.flickr.com/groups/1photoadaywithbonnie/ I'm new to groups, so be patient with me. Any challenges, send me an email at bonnie@bonniemccaffery. I'm on the road a bit, so it could take a couple days to answer. Thanks for joining me. We're going to have a good time and learn along the way. - 1 Photo a Day....makes me happy (and a better photographer) Bonnie McCaffery (always a student)